Showing posts with label Upcycled. Show all posts

Thursday, 21 May 2015

Dandelion Clock

My last post described how I upcycled an old clock (minus the mechanism) into a box frame complete with Summer scene and stamped "quote". 
I said I was pleased with the result which was good as I had another 2 clocks ready for the same treatment, well I figured there's no time like the present so I cracked on with the second one. 
I ran with the Summer theme again but also referenced the former use...
I chose " There's no tick tock with a dandelion clock" and followed the same process as last time (here). I have no idea why but with this one the stamped letters didn't blur even though I did exactly the same thing. Crafting can be like that, huh?
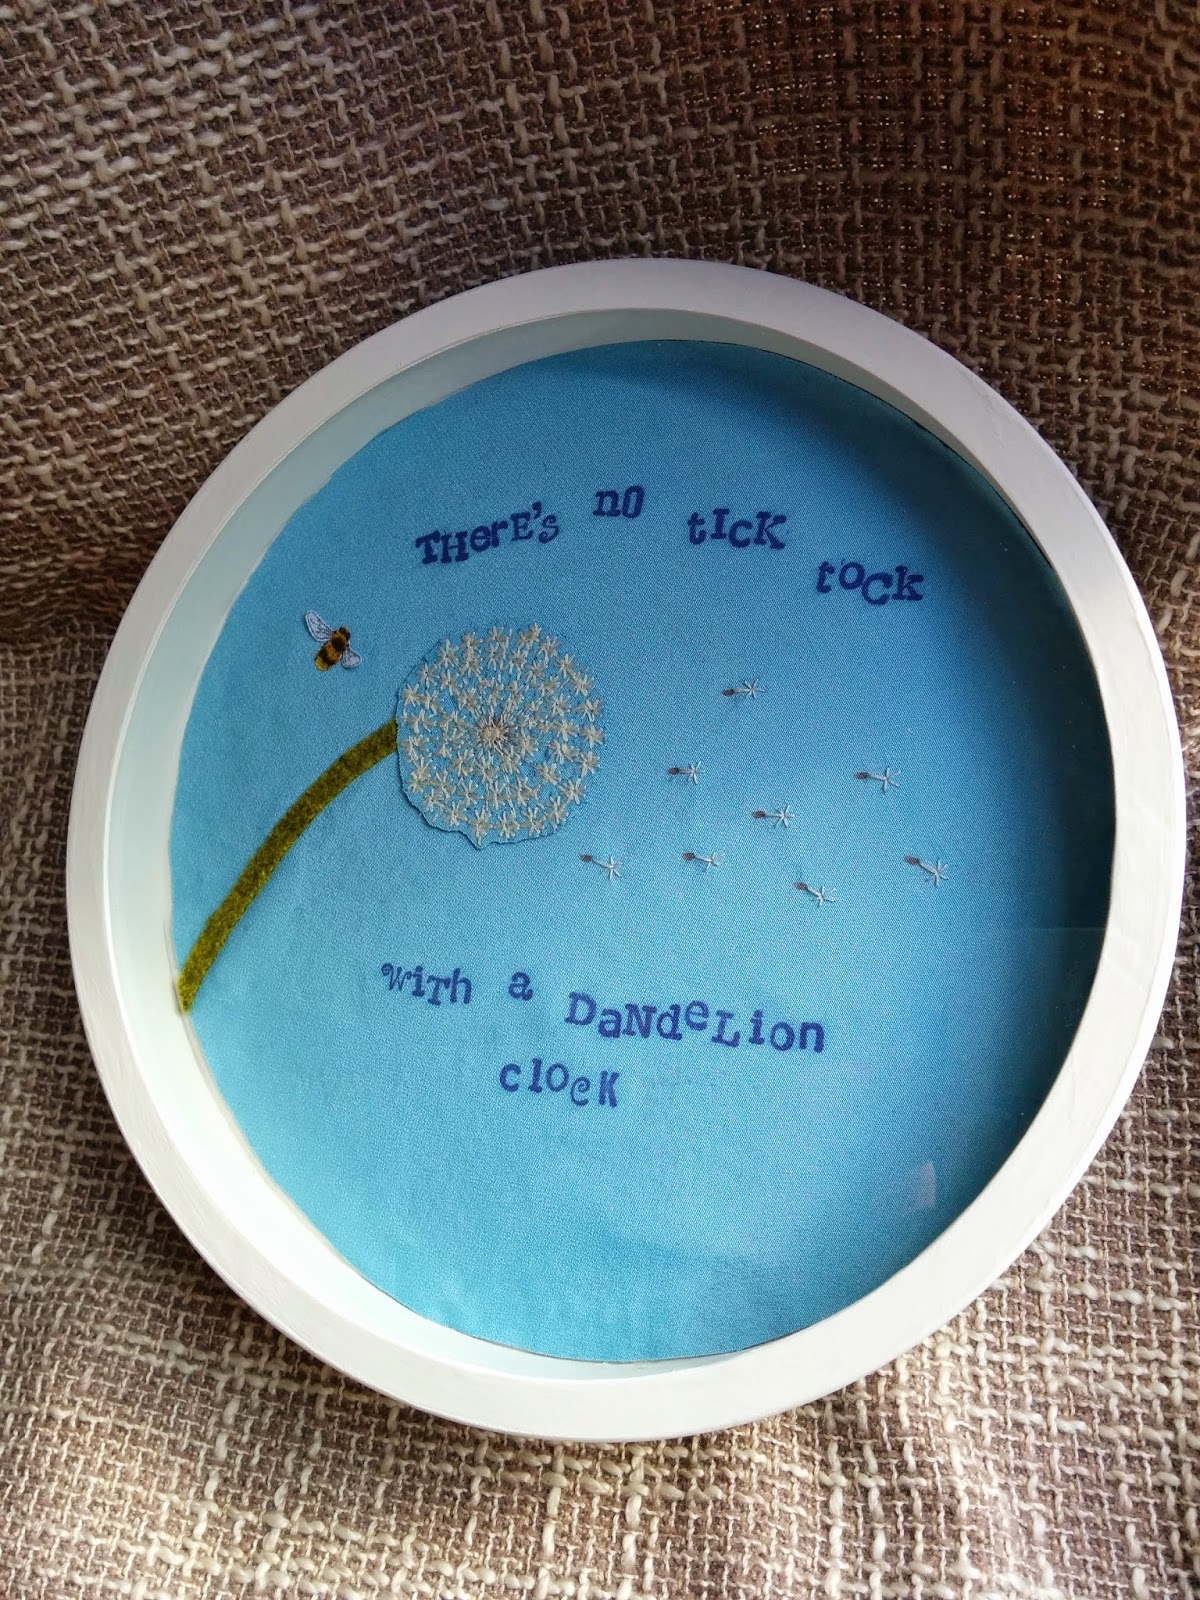
For the head of the dandelion I drew and filled in a circle with a brown fabric pen. Using my sewing machine I sewed lines radiating out from the circle. I then sewed a spiral over the lines with a decorative stitch that looks like connecting asterisks *******
This caused the fabric to pucker slightly so I cut it out and attached it to a new background with Heat n Bond. I added the wind blown seeds by hand, using the brown fabric pen for the bottom and then hand sewed the top, again an asterisk shape on top of a slightly longer double stitch connected to the brown dash. As with the previous picture I added a bee buzzing around because it just wouldn't be right without one!
One more to go...
I'd love to know which you prefer! Thanks for reading.
Until next time, craft in earnest! Craftin' Ernest x

Wednesday, 13 May 2015

Time to Upcycle!

I've mentioned before that I'm a hoarder and as such I have some random things tucked away that I tell myself I'll get round to using at some point. 
Well that's just what I did at the weekend with the left-over bits of a clock I had previously removed the mechanism from.
 I was basically left with a round, plastic frame with attached back and the front glass. It looked quite cheap (because it was) and was matt silver in colour but it was essentially a circular box frame.

I thought perhaps with a coat or two of paint it might look OK. Chalk paint has been all the rage for quite some time now and I thought, whilst I'm rather late jumping on the band-wagon, I'd give it a go. I bought a tester pot of Annie Sloan Chalk Paint in "Original" (a slightly off white) and was delighted that the label said it paints on plastic with no preparation needed, perfect!
I thought it was quite pricey at £6.50 for a 100ml pot but I did buy it from a little, independent furniture maker who gave me some helpful tips and also if there's no need for primer that's a saving both money-wise and time-wise, also it's apparently enough to do a small chair or side table. I was told to shake it very well and also to add a bit of water before giving it another good shake, so I did.
I gave both the outside frame and the edge around the clock face two good coats and was happy with the coverage. I really wasn't particular about it and after the first layer it was very uneven with areas of running paint where I put too much on, but after the second coat it looked good. I'm more than happy with it which is great as I have another two of them and there's enough paint to do many more than that.
For the inside of this one I decided upon an Summer's day outdoor scene.
I cut a circle of pale blue fabric and ironed it on to some heavy interfacing for support. 

I used various letter stamps to print out a phrase (I just made up) using ordinary stamping ink- Pigment Stampers Ink Pad in #14, a deep blue. This later seeped a bit into the fabric but as I was going for a whimsical, carefree, Summer-day feel I didn't think that was such a bad thing?!
I used "Heat n Bond" to attach green felt and fabric to give the look of hills. On the crest of the "nearest hill" I machined sewed numerous lines with an olive green thread to create the stalks.
I then hand sewed on small circles of red fabric (varying the size a bit) using black thread to make poppies, one of my very favourite flowers. 
I ironed a a small piece of "Heat n Bond" to the back of a piece of bee patterned fabric then carefully cut two of them out. Using my little Clover craft iron I bonded just the body of each to the sky background leaving the wings to stand proud.

I then attached it all the back of the frame using double-sided sticky tape. 
I think it can be improved as it was all a bit rushed but I'm happy enough with it. Now I have to decide on what goes in the other two but think I'll stick with the Summery theme.
I'd love to know your opinion! 

Until next time, craft in earnest! Craftin' Ernest x 

Tuesday, 7 April 2015

Storage Solution- Upcycled Box

Something my husband and I disagree upon quite regularly is how much stuff in the house is too much stuff? 
He strongly believes we passed the acceptable mark a long time ago and I've told him this is one of the downfalls of living with a "crafter"- to me there is no such thing as too much! 
OK I wouldn't like to end up on one of those reality TV shows where the council is sent in because you haven't thrown anything away for 20 years and can't move for old newspapers and dirty dishes with new lifeforms growing on them. 
But too much wool- not possible, overload of fabric- I don't think so, button boxes bursting at the seams- my idea of Heaven!
You just know the day you get rid of something is the day you find that's exactly what you need, that's a real frustration I do my best to avoid.

I will concede that this does make storage a bit of an issue and as such I do have a lot boxes, baskets, tins, pots, etc. 
I enjoy filling them with bits and bobs, forgetting where everything is and then rooting through them all making lots of discoveries, getting distracted and going off on a complete tangent.

I have boxes of all shapes and sizes, many of which people have kindly donated to me.
If I get a chance to decorate them before I fill them to the brim (this is rarely the case) so much the better.
My sister recently gave a box she had received as a gift from a friend at Christmas full of lovely Body Shop goodies.

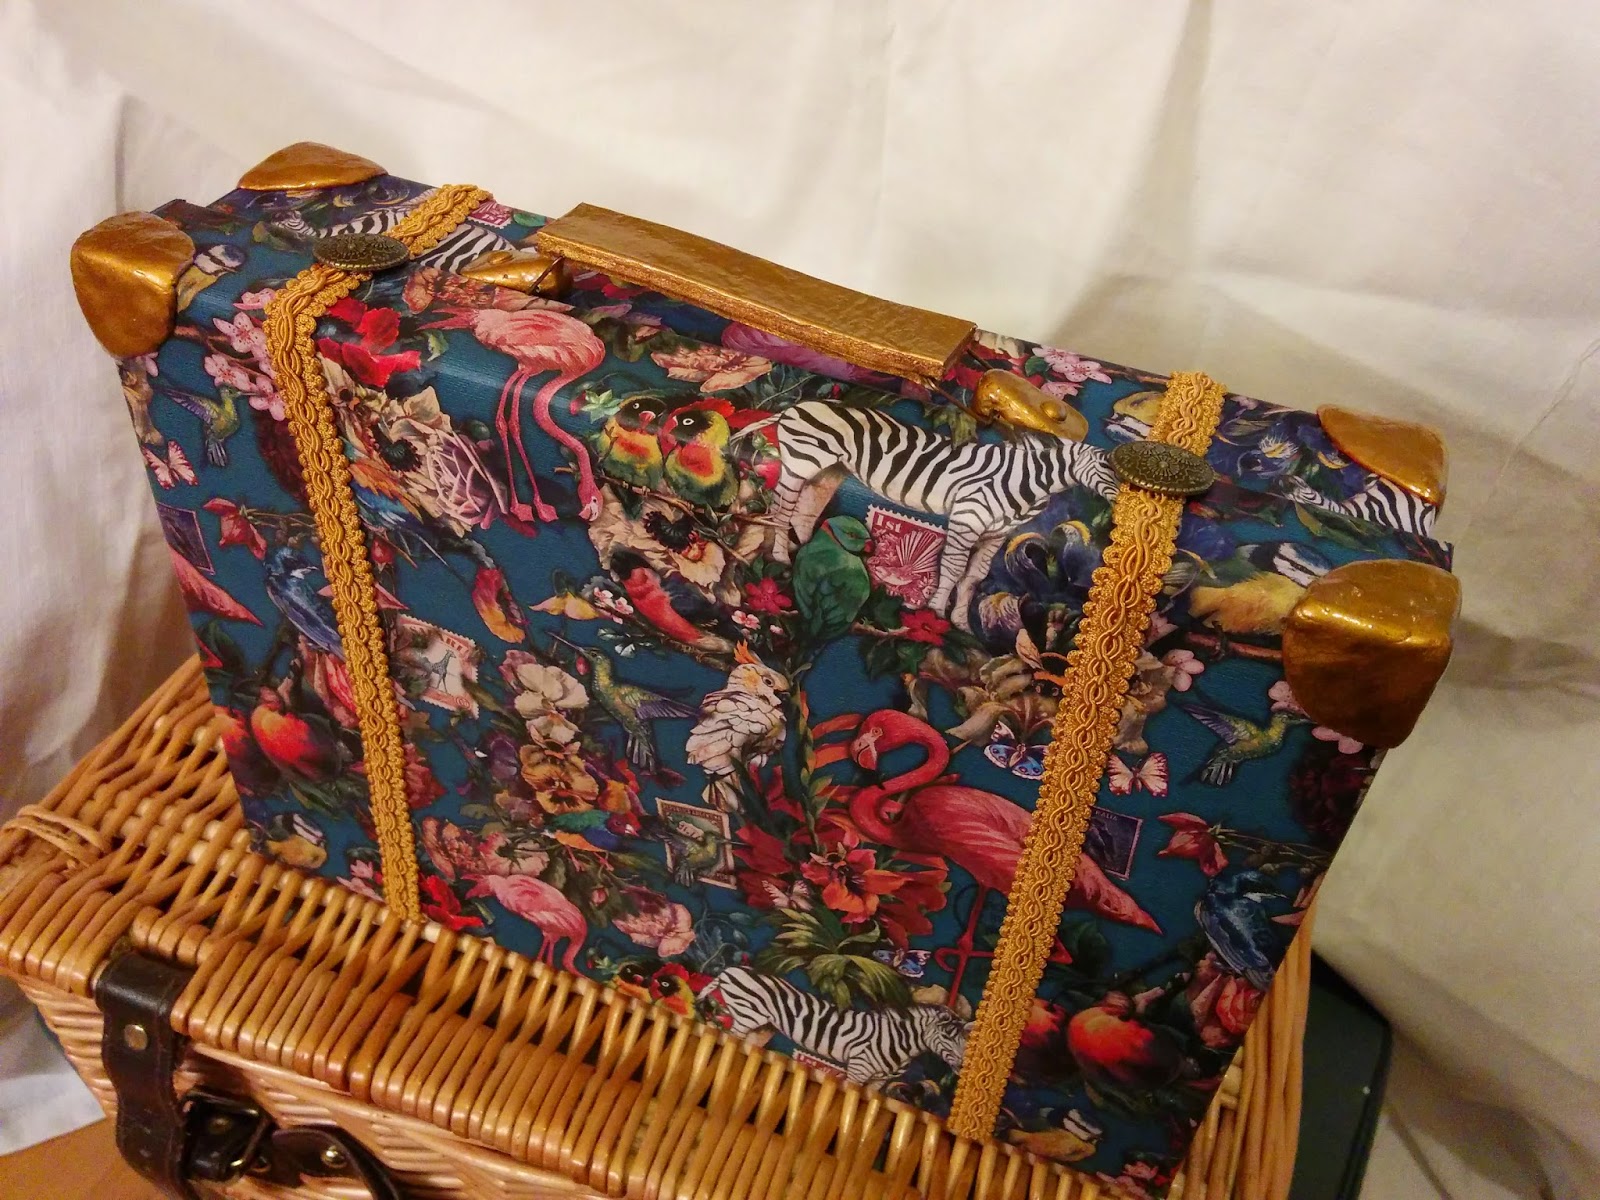
It was a nice sturdy box just right for a make over, so using some gorgeously ornate, eco-friendly wrapping paper from Wild & Wolf Ltd along with some Sugru, mouldable silicone glue, I transformed it into a vintage-style suitcase.

I cut one of the edges of the lid into a flap before covering the outside with the wrapping paper. I moulded the Sugru over the corners and used it to make attachments for the handle.
Once the Sugru parts had cured I painted them with gold coloured enamel paint. I made the handle using leather (also painted gold) and I attached it with wire rectangles made from hair pins. I added some decorative trim and flat metal beads as fake closures and the job was done.


Of course, now I have to find it a permanent home without upsetting the hubby....
I'd love to know what you think of the finished case and whether you believe there is such a thing as too much crafting stuff (although I'm going to stick with no)?

Until next time craft in earnest, Craftin' Ernest x