I can't believe it's September already, time is just flying by! However, as it's my favourite month I don't mind too much. Whilst the weather has actually taken a change for the better with the Sun shining brightly, the colours of the leaves have started to change and Autumn is certainly on it's way. Before I get cracking on the big woolly scarves and hats I thought I would make something a little more delicate....
I've seen necklaces similar to this a few places and really like them. So when I stumbled across an assorted pack of rubber o-rings for 99p in the hardware section of my local Wilkinson's the other day, I immediately knew they'd be just the thing I needed to make my necklace. As they vary in diameter and thickness I thought they'd provide the perfect, varied base rings and they are flexible but hold their shape, also they weigh next to nothing so the necklace would be nice and light.
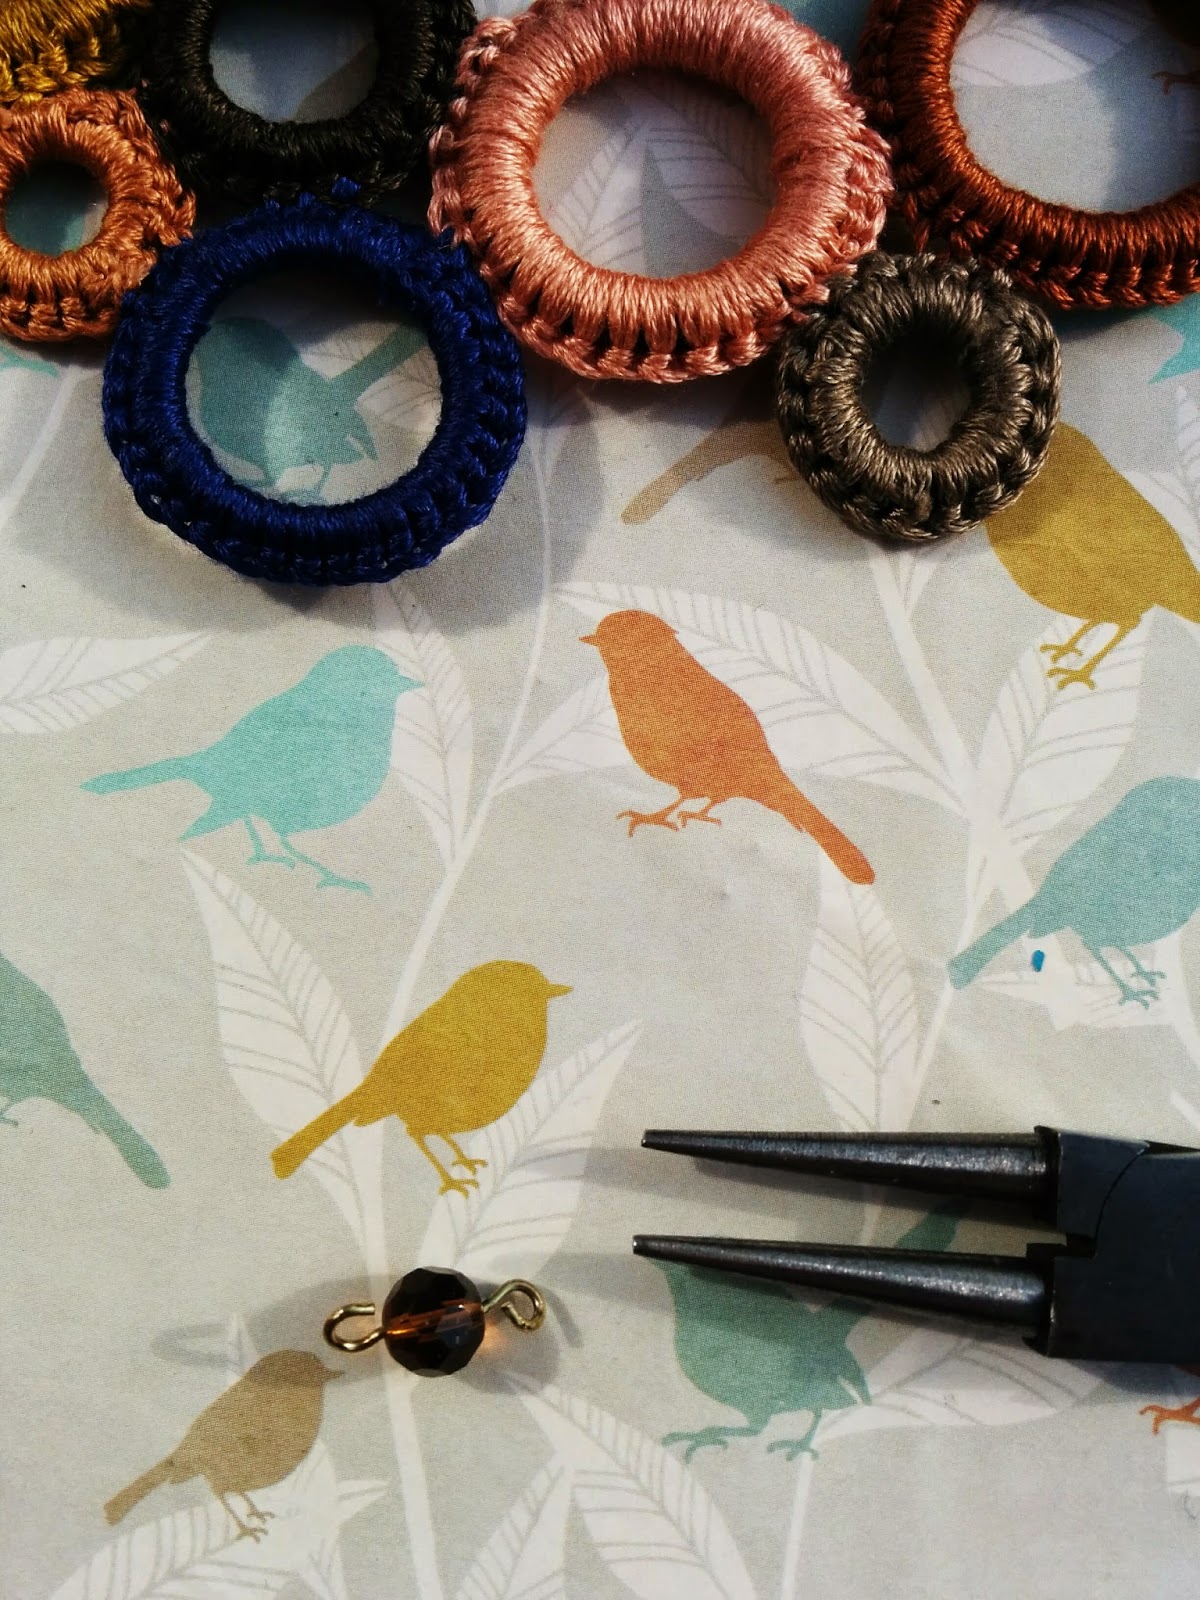
I'm afraid I didn't take the picture until after I'd opened and removed the o-rings I was going to use- sorry dopey me!
What you need:O-rings (or similar for you base- you might find something you prefer/better)
Embroidery cotton or fine yarn
Small crochet hook
Sewing needle
Scissors
Chain, jump-rings and fastening e.g. lobster clasp
Pliers
A couple of beads are optional but do make a nice addition in which case a small amount of coordinating wire is also needed, together with round-nose pliers and wire-cutters.
I decided to use 7 of the rings (I always think odd numbers work best for this sort of thing) so I chose the same number of different embroidery cottons to use. I picked 7 colours I liked the look of together and that I thought would go with a range of my clothes. My favourite colour to wear is navy so that was my starting colour and I went from there. Alternatively you could use just one colour or different shades of the same colour might give a nice finish too?
Once I had decided on the colours I arranged the o-rings to a rough layout I liked and started to crochet.
Throughout I used double crochet (dc) with a 2.5mm hook and treated the o-rings as a chain ring and crocheted into the "chain space". Obviously the number of stitches required varied depending on the size of the o-ring but I kept pushing the stitches tightly together to make sure you couldn't see any of the black rubber.
Once I had completely finished the round and was happy there was no gaps I joined the last dc to the first dc with a slip stitch.
At the end of the round I left a long tail of cotton on each ring to use to sew the rings together.
I did this by sewing a few crochet stitches from two rings together with the tail from one then pulling the thread through a few of the hoops around the ring and cutting off the excess.
I repeated this step with each ring being sure to keep the arrangement of the rings on the design I decided up. The tail of the final ring isn't needed so I sewed this into the hoops of the ring as previously and again cut the excess.
Once all the rings are sew securely together you just need to add the chain. This can be done by attaching a jump ring to the upper, outer edge of the two end rings, going though the top of a single crochet stitch and the end of the chain (see * below as with the beaded step). Then attach the clasp to the other ends of the chain also using jump rings.
If you decide to add beads, thread one onto wire and create a loop either side of the bead with the round-nose pliers.
Attach one of the loops to the crochet stitch on the ring as with the jump ring and the other loop to the chain. Finish as before.
 |
| *If using a jump ring insert as above and attach the chain directly |
Thanks so much for taking the time to read my blog, I really appreciate it!
Until next time craft in earnest, Craftin' Ernest x


Thanks! You definitely should give it a go, it's so versatile and one of my favourite things ever ;-)
ReplyDelete