Showing posts with label Handmade. Show all posts

Tuesday, 15 December 2015

Efcolor Enamels (Low Temp Enamel Powders)

For Christmas a (good) few years ago I very happily received a small, secondhand, jewellery kiln and all the accoutrements required for a number of enameling projects. Sadly, I have only used it a handful of times for a few reasons... 
1. It cost a lot to run. 
2. It makes my husband very nervous (I had to buy a fire extinguisher to help alleviate his fears) 
3. I don't have a dedicated work space for it, so it takes planning to get out and to pack away etc (and basically I'm too lazy/disorganised for that).

I quite often feel a bit guilty/frustrated by this but I have recently stumbled across Efcolour Enamels on Cooksongold.com
I treated myself to the starter set below and, boy, was I delighted that I did!! The stuff is fabulous. 
They are low temperature enamel powders that "fire" at 150°C, how amazing is that?!
The starter kit contains 10 x 10ml pots of different, brightly coloured powders, a couple of sieve tops that can be fitted directly to each pot and a few metal blanks.
For my first project I used my kitchen oven but when I realised how great the stuff was I bit the bullet and bought the tealight stove - another purchase I certainly don't regret.
Here's mine after a few (very enjoyable) enameling sessions (with a glimpse of a scented tealight I used to add an extra level of pleasure)...
Another handy purchase was a packet of extra sieve tops as you only get 2 in the starter set, a few more come in useful as it saves having to clean them between powders when using a number of colours. One per pot would be the ideal but I have already spent enough so I'll make do for now.
They're easy enough to clean, the pic below shows one before cleaning and the others after the cleaning - I just used a dry cloth after tapping away the excess.
I've been a busy little beaver with the stuff and will share some things I've learnt and a few projects in upcoming posts. 
Just for comparison though - in the photo below, I made the top pair of earrings with "proper enamel" in the kiln and the bottom ones were made using Efcolor enamel.
As you can see the results are quite different but, in my opinion, both have their own pleasing qualities- would you agree?
Until next time, craft in earnest! Craftin' Ernest x


Monday, 16 November 2015

It's Been A Little While Sorry! Here's a Scarf Tute

Hello there!
Firstly I have to apologise as it's been a good few months since my last post- awful blogging etiquette I know, I'm very sorry. I will mend my ways, promise!

I have still been making things including the following scarf! It was made by recycling a pair of palazzo trousers. I took pics along the way, albeit rubbish ones with my phone but you can get the idea from them.
First you need a pair of trousers with baggy legs (although you could skip this step if you have fabric you like, or use a long skirt/dress- whatever you like). I loved these trousers but with a hole by the zip and the bottoms getting a little worn it was time to re-purpose them. The trousers (or the fabric) will need a good iron.
From each leg cut two equal rectangles of fabric so you have four pieces of fabric all the same size, in my example the sections measured roughly 26cm x 76cm (11 x 30 inches).
With right sides together,  sew two of the section together along the shorter ends. Repeat the same step with the other two sections (my fabric looks very similar on both sides in the photographs but the birds on the outside are more crisp in colour)
I used a 1cm seam allowance throughout the project (except for the final seam).
Open both sections out so you have two double length pieces, each with a seam in the centre. Pin these two lengths together, again right sides together, with the seams meeting in the centre. Sew the two long sides together.
At this stage you will have a long tube with the seams on the outside. Tuck one half inside the other with the right sides together so that the unsewn edges meet (with the sewn seams meeting on either side). Pin these together and sew around the edge leaving a section open.
The section left unsewn- approximately 10cm.
Turn the scarf the right way out through the unsewn hole, so all the seams are on the inside.
Tuck the raw edges in and the pin the hole closed.
As close to the edge as possible sew the opening closed.
The finished seam...
And that's the scarf done!
All ready to wear- just wrap it around twice and you're all set.
Here's a picture of the finished scarf (after a day's wear) to show it's length open- approx 66cm (26in) or about the length as a semi stretched cat, who was keen to help with my measuring ;-)
I'm very pleased with how it turned out as I really love the fabric and still get to enjoy wearing it, even though the trousers were past their best.
I'm definitely going to make more using raw fabric (rather than altering items of clothing) for Christmas presents for friends.
Thanks for taking the time to read this post! 
Until next time (which I promise won't be as long as last time), craft in earnest! Craftin' Ernest x

Monday, 29 June 2015

A Baa-rilliant Doorstop

Is it just me or does the Summer seem to be much busier than Winter? Maybe in the Winter it's just easier to curl up cosy with some wool and needles, or to ensconce yourself in front of the sewing machine for the whole day without being distracted by the outside world? I don't know but I'm finding it hard to get the time to make as much as I want to at the moment!
Thankfully I do have a list of "have to make" items which gave me the excuse to stop everything to craft.
On top of the list was a sheep doorstop for a friend who asked me to make it for a gift (by the way, please forgive the rather boastful title, I just liked the play on words). I didn't have to ponder for too long on how I would make it- out came the crochet hooks and wool and I designed it as I went along.

For the body, I decided upon a standard creamy, "sheep colour". For added texture I used seven strands of yarn together making it nice and chunky with a 10mm hook.
Four of the strands were the same yarn along with three different yarns of slightly different colour and texture. I started by chaining 5 stitches, adding a round of treble crochets (doubles in US terms) into the chain then continuing to work in rounds of treble crochet.
For the head and tail I switched to black yarn, again using different yarns together, in this case two types, and a 4mm hook.
The head was made with three different crocheted sections sewn together with two ears sewn on once crocheted. I attached the head at a slightly jaunty angle as I always think it gives a slight quizzical impression that I find cute (could be just me).
The tail was was a crocheted strip folded and the sides sewn together. Both were made using double crochet stitches (US singles).
I partially stuffed it with the filling from an Ikea cushion- my go to stuffing of choice, it's so much cheaper than buying the stuffing directly from a craft shop and still meets all the safety requirements!

To give it weight I set plaster of paris in a bowl with odd screws and bolts I had cluttering up a kitchen drawer. I wrapped this in scrap fabric to cushion it. (In a previous post with an owl doorstop tutorial I give more details about weighing it down) 
For the base I sewed a piece of green felt to the bottom row of crochet stitches.
A couple of black beads were sewn on as the finishing touch for eyes.

Fingers crossed she likes him?!
If you would like the actual pattern to create one yourself just let me know and I'll sort it out.
Until next time, craft in earnest! Craftin' Ernest x


Sunday, 31 May 2015

A Board Book Duck Brooch Tutorial

I mentioned in a previous post about my day trip to Wells that I had bought a few things for future craft projects and that I would share the details with later. This is the first of one of those posts...

I picked up a child's board book for a bargain price of 40 pence called "I Went Walking". It's written by Sue Machin and has lovely illustrations by Julie Vivas. 
What caught my eye was the duck on the front. My mum loves ducks, so much so my parent's house is named "Teach na Lacha" which is Irish for "House of Ducks" and is full of duck items- they're on cushions and curtains and she has lots of ornaments (no actual ducks though as they don't have the room and "it would be too messy").
I really liked the duck illustration and thought I could make something for my mum with it. Happily the duck features on most pages and I decided to make a brooch with one of them.
It turned out to be quite simple project and really any board book could be used if you want to give it a go.

You will need:
  1. First cut out the image with the craft knife. I found this can take a while as you need to go over the cuts a few times to go right through but be patient, you'll get there.
  2. "Glaze" the image using the embossing powder- press the image face down onto the colourless stamping pad, cover with embossing powder, tip off excess and heat until all the powder has transformed. (Even though I was using extra thick embossing powder I decided to give it two coats by repeating the same process, this resulted in a wavy surface. I didn't mind that but wouldn't do it next time).
  3. Place image face up on reinforcement layer and draw around the edge as closely as possible then cut out with craft knife.
  4. Glue to the back of the glazed image, spreading the glue as close to the edge as possible without lots seeping out, and leave to fully dry.
  5. Glue a brooch finding to the back and again leave to cure.
  6. Draw around the edge of the brooch slightly going over the edge on the front and back to give a silver rim effect.
  7. You're all done, wear with pride!
    Happily my mum loved it and that makes me a happy bunny. I'll certainly be looking out for other board books to convert when in charity shops.
I'd love to know your opinion or if you give it a go. Thanks for reading.
Until next time, craft in earnest! Craftin' Ernest x

Monday, 4 May 2015

Jam-Packed May Day Weekend

Who doesn't love a long weekend? I most certainly do and although the weather hasn't been the greatest, I've had a fantastic couple of days!
On Saturday my mum and I headed to Bristol on the bus for a day full of shopping and craft.
We went nice and early and had a quick wander round the shops before heading to Outlaw Craft Fair in The Passenger Shed, part of Bristol Temple Meads Railway Station.
We got to the fair just before 11 and had a workshop booked at 14:30 so we had plenty of time to explore. First thing first, we headed straight to the cake! It's important to keep your strength up after all ;-)

There were so many gorgeous stalls, they were packed full of wonderful treasures made by extremely talented crafters and artists, as well as others with goodies to craft with. Regular demonstrations were also taking place and there was a "make and take" theatre but unfortunately we missed out each time on those.
Boy did we shop though. We took money out at a cash machine on our way to the venue in a vain attempt to set a budget but it wasn't long before the card came out! It was all just so irresistible and when you're supporting local sellers, surely it would be rude not to?!?

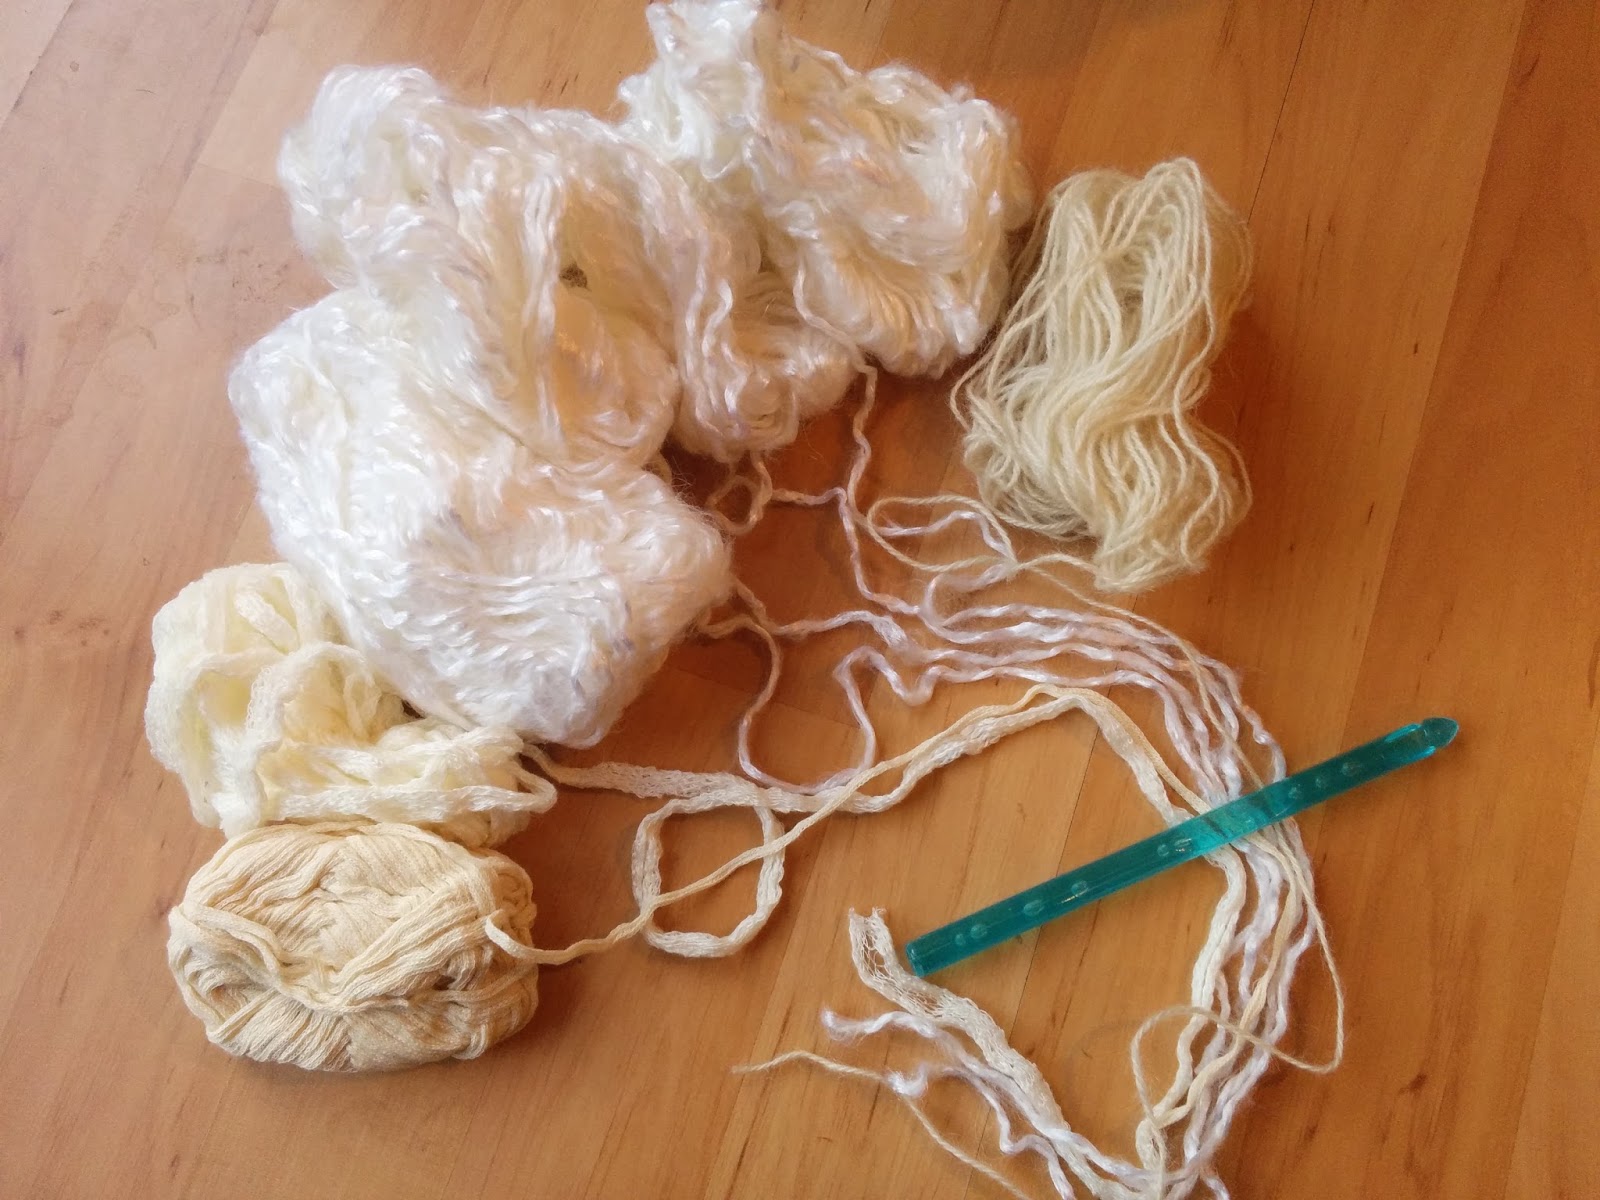
Here's the majority of my stash! I bought a brooch too but that went straight on my coat and other cards but they went straight in the post.
I made 3 purchases in total from Boodle Boutique-  firstly a card and then a wooden badge. I did have my eye on a bumblebee print but couldn't think where I could put in the house so didn't buy it. Later I decided I would regret my decision when I got home and went back but they had gone! 
However, the super nice Bethan Buss of Boodle told me I could order one online and not pay P&P, great stuff... But she later came and found me at another stall as she had discovered she had another with her. I was delighted, such great service and so lucky as I had been in the workshop and only popped out for a moment- it was obviously meant to be.
Our lunch was delicious as well as nice and healthy, thanks to The Cornish Hen Delicatessen. My mum was very impressed with her homity pie and salad which she enjoyed whilst modeling a pair of silver earrings, she bought them as a retirement present from one of her sisters.
In this photograph she is picking them out, it took a while as everything in the display case was so gorgeous.
Our lampshade making workshop was great fun & we were both pleased with the finished items.
The day just flew by and we were shattered by the time we got home.


Sunday was spent at helping my former boss, Pete, at Tyntesfield House, a Victorian property owned by The National Trust. Each month they have a Food & Craft Market in the former stable area, now the ticket office, cafe and shop with a court yard. 
The market is a lovely mix of stalls ranging from bakers to stain glass window makers to natural remedy producers. 
Pete makes apple juice from a variety of different apples ranging from very sharp (Bramley) to very sweet (Egremont Russet) along with a pear juice made from Concorde pears. He also sells his own cider again made from his very own homegrown cider apples.
On top of the juices and cider is his honey- available both as runny or set, he currently has 3 hives and thinks blackberry blossom and other hedgerow flowers are they're main pollen source rather than the apple blossom in his orchard.
I made him a couple of aprons with his logo on a few of years ago, along with matching name badges. I was wearing the other one and they're still going strong I'm pleased to say.
Despite the very changeable weather we had a good day and Pete was pleased with the sales, even if we got a little wet making them. We also enjoyed some yummy produce from the stalls around us, brownies, tartlets and a scotch egg. Again we had to keep our strength up!
After such a busy Saturday and Sunday, it's lovely to have Monday off work to relax & get a few of the household jobs done (as well as admire my purchases).
Until next time, craft in earnest!
Craftin' Ernest x

Thursday, 30 April 2015

April Round-Up

So that's another month all but over- where does the time go?
I thought this month I would give a little round up of things from the last few posts. 
The month's second post was all about my brooch collection and I mentioned at the end that I should make a display board for them all- well job done! There's even room for a quite a few more which is always good.
I also shared my last minute, have-a-go, dyeing session with a couple of balls of yarn. This is what it looks like knitting up in plain stockinette stitch, it's going to be a Springtime cowl....
My banana bread turned out to be edible and quickly disappeared at work...
Another little project I made this month, not previously mentioned, was for a gorgeous little cutie-pie who turns one on May Day. In this picture he's only 4 months old but he's showing off a baby-grow I customised for him just perfectly.
I decided upon a ball-shaped bird, made using The WI Collection yarn from Hobbycraft in a gorgeous, deep turquoise. I crocheted a ball, about 10cm in diameter, using all double crochet (British terminology, US single crochet). The yarn label suggests a 9mm hook but as I wanted it nice and tight to hold the stuffing I used a 5mm hook and could have gone even smaller with no problems.
I made 2 little wings and a tail, again using dc and 5mm hook, then sewed them on using the ends. As it's for a small child I really went to town on attaching them securely! 
For each leg- I knitted a 3 stitch i-cord (one of my favourite things to knit, it's just so satisfying) using a a pinky coloured, organic cotton yarn I had left over from another project. When it was the length I wanted, I removed the knitting needle and finished it off with a crochet hook turning each of the stitches into a picot stitch to make a little foot. I repeated the process to make the second leg and then again sewed them on very securely.
For the face I used orange embroidery cotton and a 2mm hook to make a tiny cone shape for the beak, I just made an 8 stitch ring and then crocheted dc decreases in a spiral. I embroidered on two eyes with black embroidery cotton using satin stitch.
I'm pleased with the result, I think he looks like a friendly little fellow but I especially hope the birthday boy likes him.
That's it for April! The start of May is looking good- I'm off to Outlaw Craft Fair in Bristol with my Mum on Saturday. We have a workshop booked and it will be great to spend the day together.
Until next time craft in earnest! Craftin' Ernest x