A friend of mine has
introduced me to the pleasures of a cup of green tea and having previously
never drunk hot drinks (hot chocolate not included of course) I’m now
addicted and drink umpteen cups a day. I've even got my sister drinking it as well though she was very skeptical to start with,
not liking hot drinks even more than I did.
We now have our TV catch-up
evenings, watching the likes of “Downton Abbey” and “Call The Midwife” with our
pot of green tea made using teabags.
Last month I went on my
annual February trip to Ireland
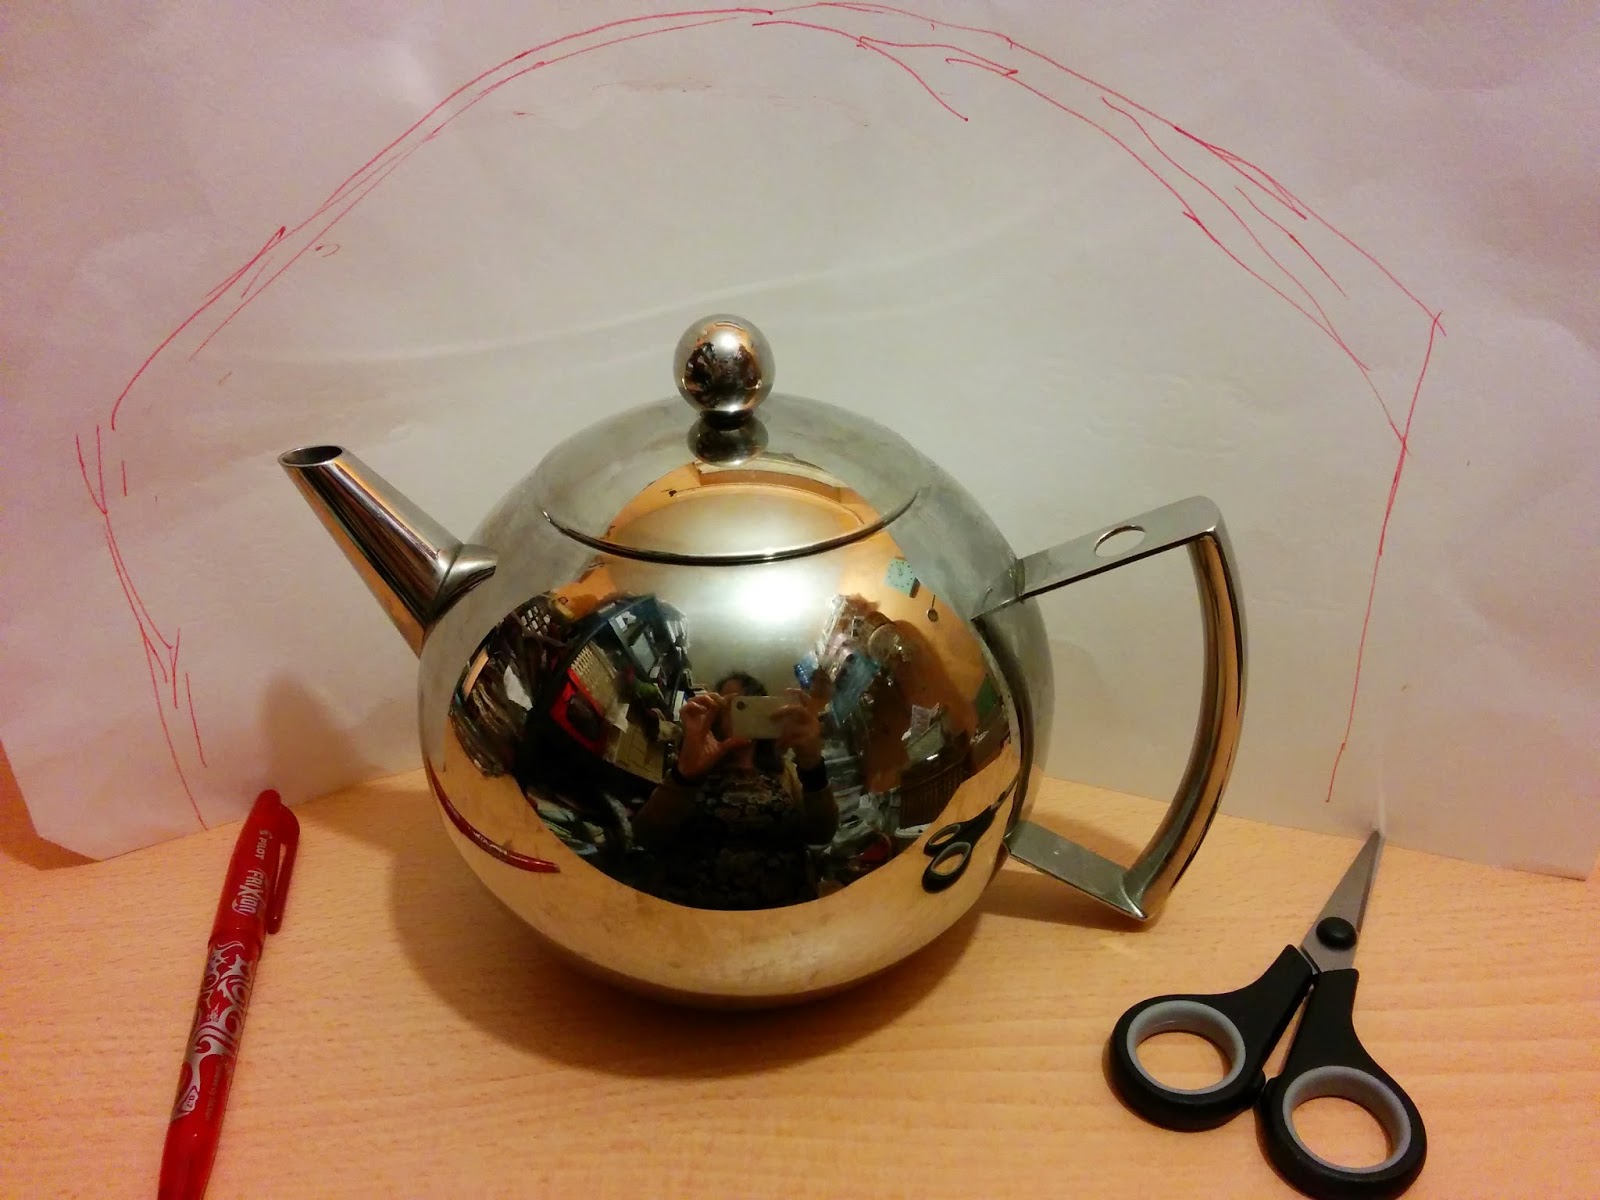
(see previous trips here & here) and picked myself up a wonderful, retro-feel,
stainless steel teapot with diffuser for loose leaf tea. It was in a Charity
shop and was only 5 Euro, splendid stuff!
On a side note, I've got a
thing about small teaspoons and also bought 4 of them whilst I was over there. Having only hand luggage booked on the flight I had to pack the teapot and
spoons in my teeny wheely case, the airport security must have thought I take
tea drinking very seriously as they were x-raying my case.
I decided this new teapot called for its own special tea cosy- so to the sewing machine.
I used a large piece of paper to make a pattern by folding it around the teapot and drawing the rough shape I thought would work, I removed a notch from the top to create a rounded shape top once sewn.
I cut the template out and made adjustments as needed, for example, I had to shorten it.
Using the template I needed to cut out a total of 6 pieces-
2 pieces of outer fabric (patterned fabric in photo)
2 of the insulating layer (the black fabric in photo)
2 for the lining (deep pink fabric)
I actually used an extra insulating layer as I was “making do” with
what I had to hand, the black fabric- a 100% wool felt and had it been a little thicker I would not have needed anther layer. I used a blue fleece, for a little extra warmth, on the back of the outer layer treating them as one layer i.e. I sewed the decorative pattern to both these layers as one.
For the main body of the
cosy I picked a remnant of stone coloured fabric with a dark blue printed
design of a plants and birds, I thought the folks at Downton would approve.
I used a zigzag stitch to
machine sew a length of lace ribbon to each side of the outer layer approximately 5cm from the bottom.
I decided upon a teacup design, cut a template out of scrap cardboard, and picked a bright, fuchsia pink fabric which technically is actually a napkin- I bought these a few years ago in Primark for the ridiculous price of £2 for 4 large napkins, they were always destined for a sewing project in my house not their intended purpose. I used another napkin for the lining to match the teacup.
I used “Heat n
Bond” to attach the teacup. “Heat n Bond” is amazing stuff and well worth
having in your sewing arsenal. It has paper on one side and the mesh of bonding
fabric on the other. First you iron it onto the fabric of you design, in this
case my pink fabric, with the paper facing up. You draw your design on the paper; this
can be done free hand or using a template as I have done. You can then cut it out.
Once you have your shape, the paper is removed and the design is attached in place with an iron. I've always had nice strong bonds using “Heat n Bond” but I like to sew around the edge for extra strength but more importantly because it looks so much nicer.
As every project can be
improved with a few buttons, I hand sewed some teeny ones onto the cup as polka
dots. It occurred to me afterwards that I hadn't sewn on a saucer, Lady Violet would have been appalled!
I repeated the same for the other side and that's the decorative part done.
In part 2, to follow in a few days, the cosy comes together and the tea in the pot is kept nice and toasty, until then craft in earnest! Craftin' Ernest x